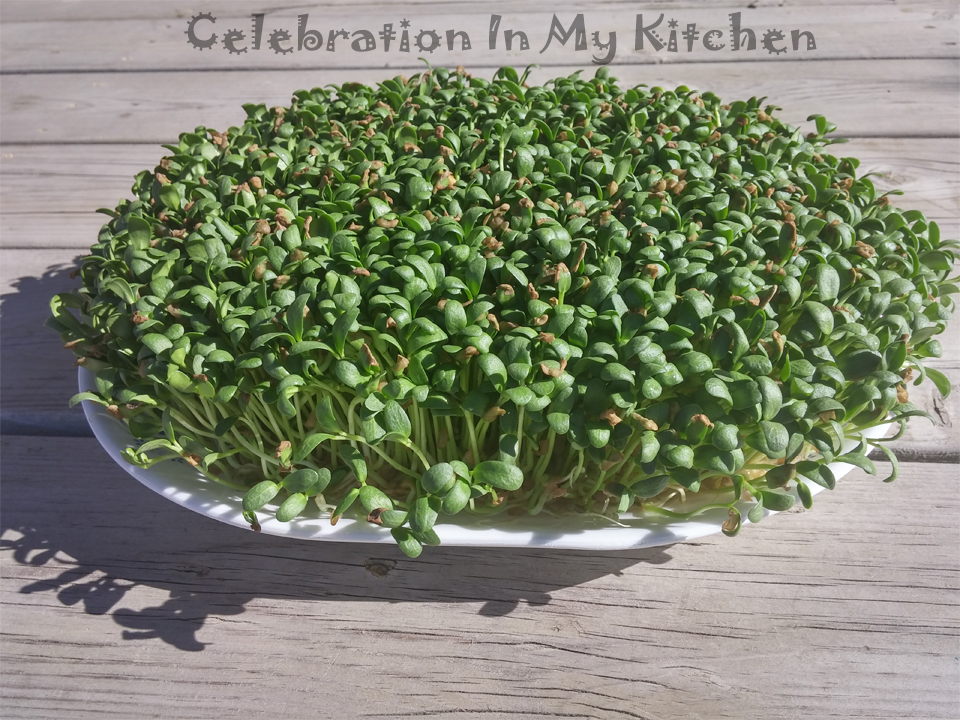
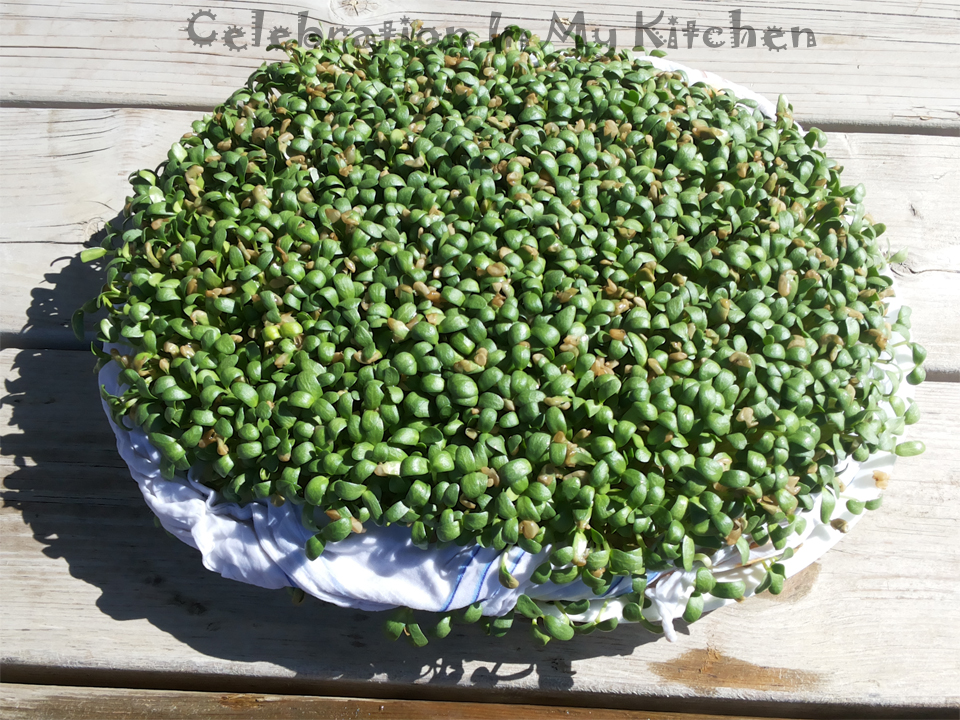
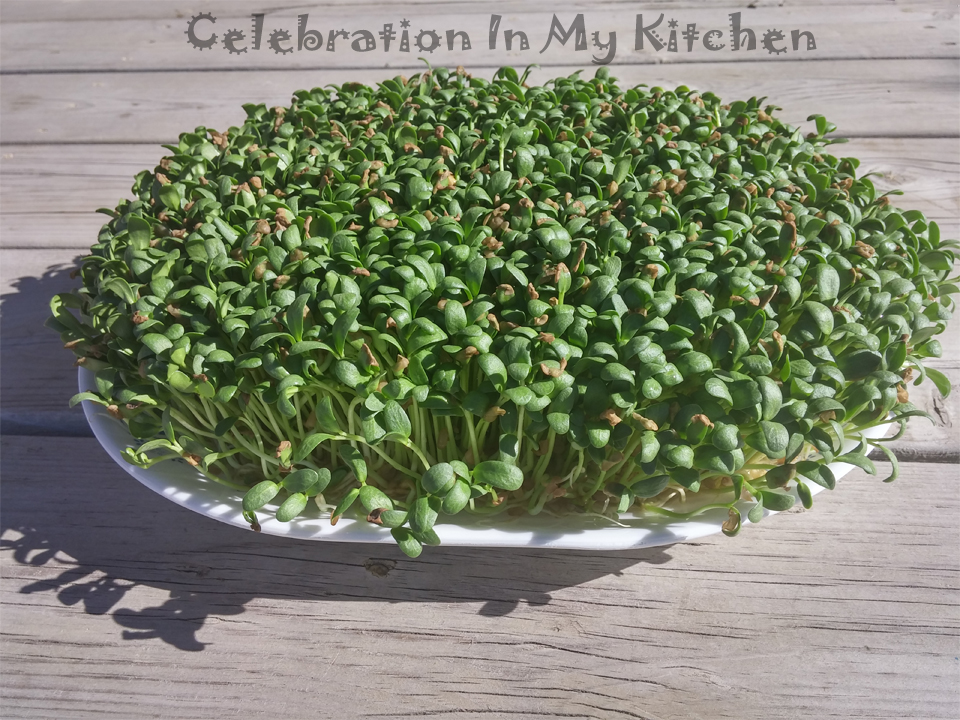
Though the process of growing fenugreek seeds in soil is easy, harvesting them is time-consuming and messy. Moreover, the soil has to be changed for planting the next fresh batch. The technique of sprouting fenugreek without soil is simple, requiring only water, attention and care.
The seeds are rinsed, soaked in water which is changed daily to accelerate the germination process. At this stage, the seeds don't require light and can be kept indoors. Once they germinate, the fenugreeks are ready for indirect sunlight. They are spread onto a plate or tray, moistened with water and covered with a wet cloth or towel till fully grown. Exposing the fenugreeks to hot, direct sunlight will destroy their growth and should be avoided.
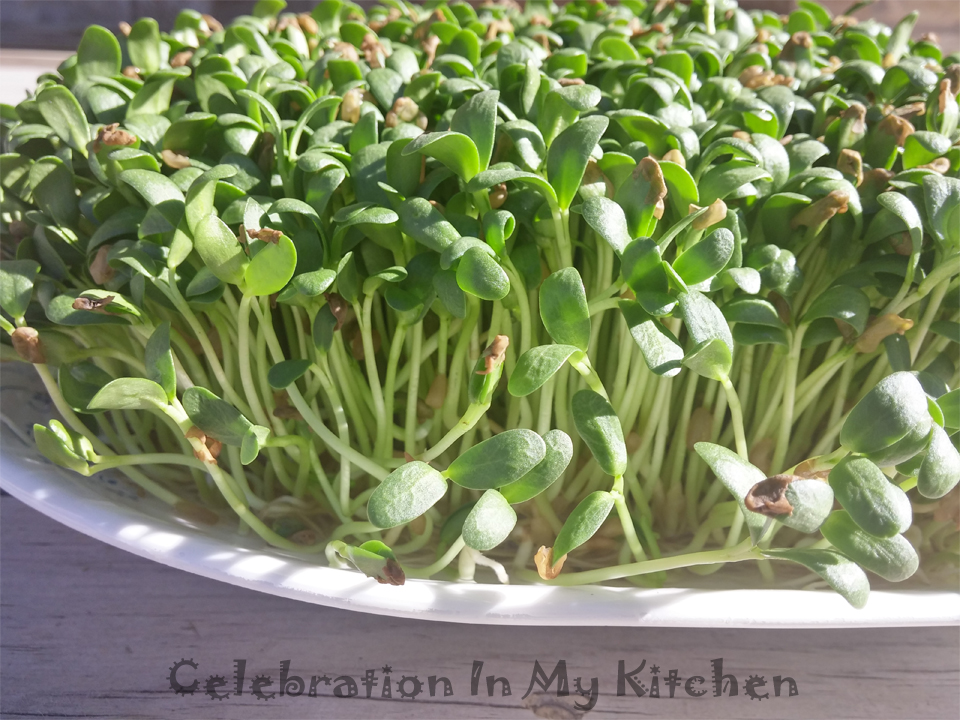
Advantage of growing fenugreek without soil is that the process is clean, with faster growth and edible roots. Part of the roots are always cut off when grown in soil whereas here, the entire roots can be consumed.
How To Grow Fenugreek Without Soil
Requirements:
1/3 cup Fenugreek seeds
12" x 10" rectangular plate or a tray
Unbleached, sterilized thin light weight cloths or towels
water
Steps on how to grow fenugreek seeds without soil:
Note:
Requirements:
1/3 cup Fenugreek seeds
12" x 10" rectangular plate or a tray
Unbleached, sterilized thin light weight cloths or towels
water
Steps on how to grow fenugreek seeds without soil:
- Wash, rinse and soak 1/3 cup seeds with 1 cup water in a bowl.
- Daily drain off water and replenish with the same amount until they begin to sprout in 2 to 3 days. This is important to avoid any growth of mold.
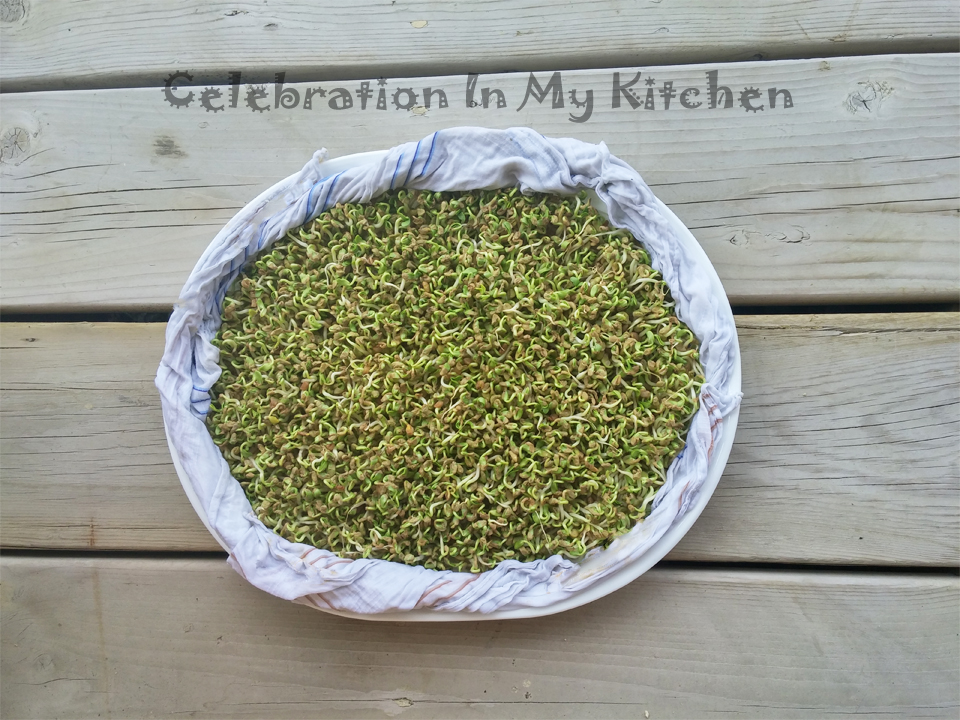
- Once the seeds start to germinate, spread them onto the rectangular plate or tray.
- Lightly spray seeds with water, draining off any excess water collected at the bottom of the plate. Wet a cloth or towel and cover the plate or tray. Keep in the shade away from direct sunlight.
- Twice a day, rinse the cloth well, cover and then lightly spray with water. Gently drain off any excess water collected at the bottom of the plate or tray ensuring that the sprouts don't slide off position. Note: This step has to be followed daily.
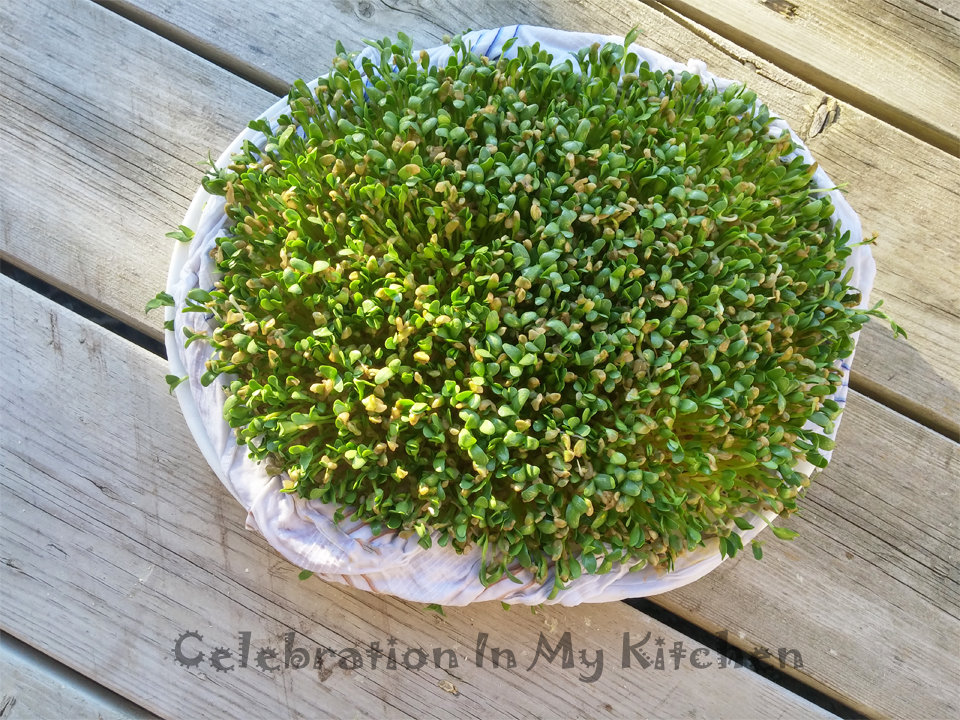
- As the sprouts start to grow in height, secure the sides all around with wet cloth or towel to prevent them from drying along the edges. Also, cover the top with a moist cloth or towel.
- The towel on top will be raised or lifted as the sprouts keep growing taller.
- Once the leaves are fully grown and sprouts are 4" tall, harvest and use.
- Enjoy fresh baby fenugreek within two weeks.
- Health benefits of fenugreek, click here.
Note:
- For dense growth, use quantity of seeds according to the size of plate or tray.
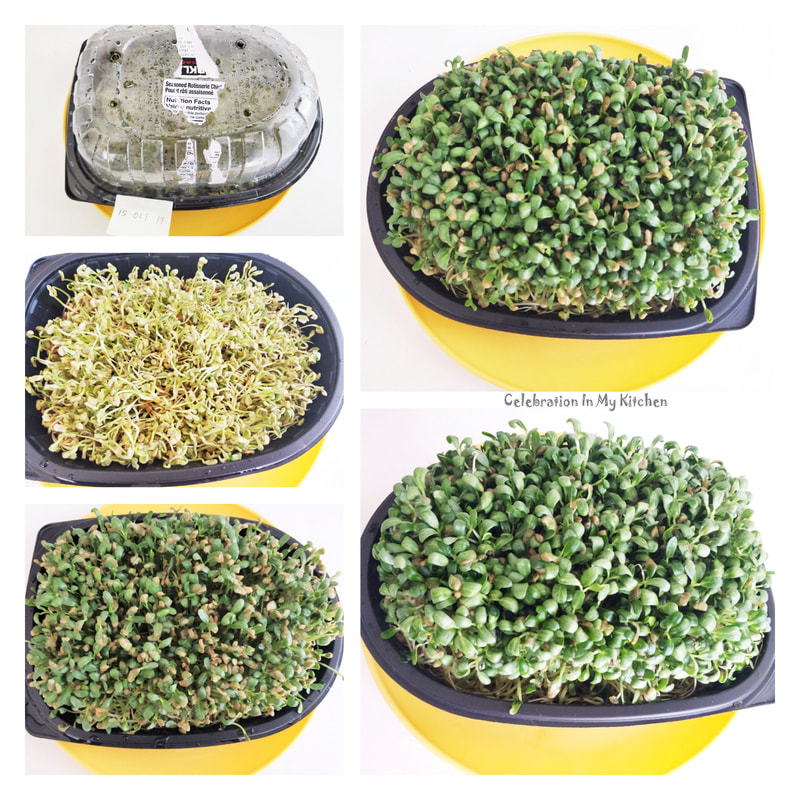
- Turn plastic rotisserie chicken container into indoor greenhouse. Pierce the base with a stainless steel skewer and make few tiny holes. Soak seeds in a separate bowl and let them sprout in a day or two. Ensure to change the water in the bowl every day. Spread the sprouts in the container, placed on a dish with very little water. Cover with the lid and keep near a window for light, not direct sunlight. Mist, spray or sprinkle some water on the sprouts every day, ensuring to rinse and replace the little water in the dish too. Also, cover at all times to create humidity and expedite growth. Methi ready in two weeks. In very hot weather, a week or 10 days. For those residing in India, use RO or bottled water.

