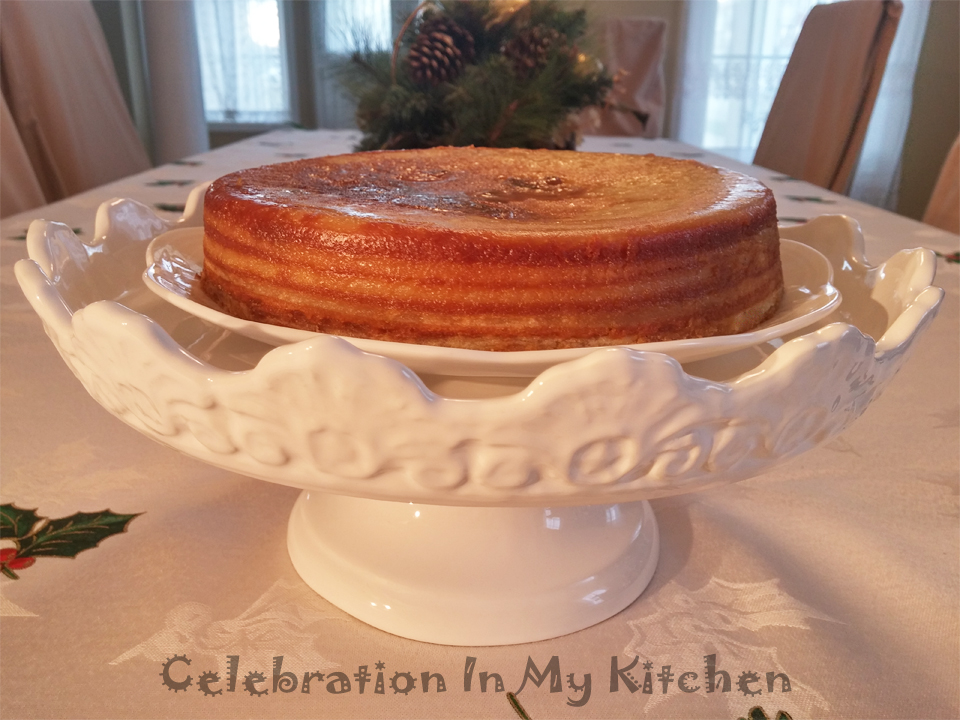
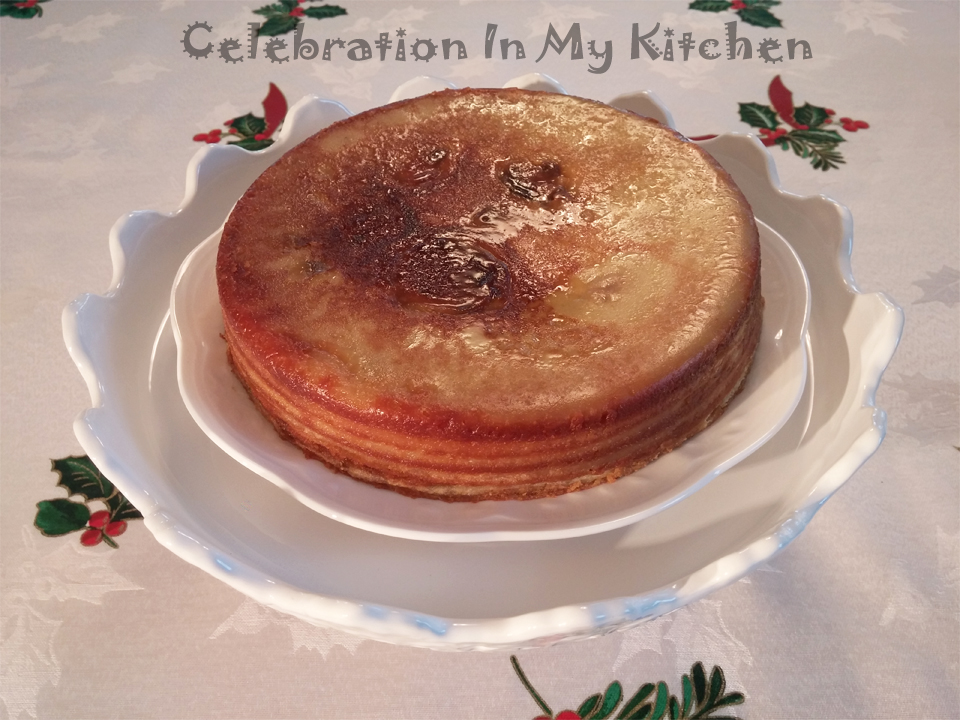
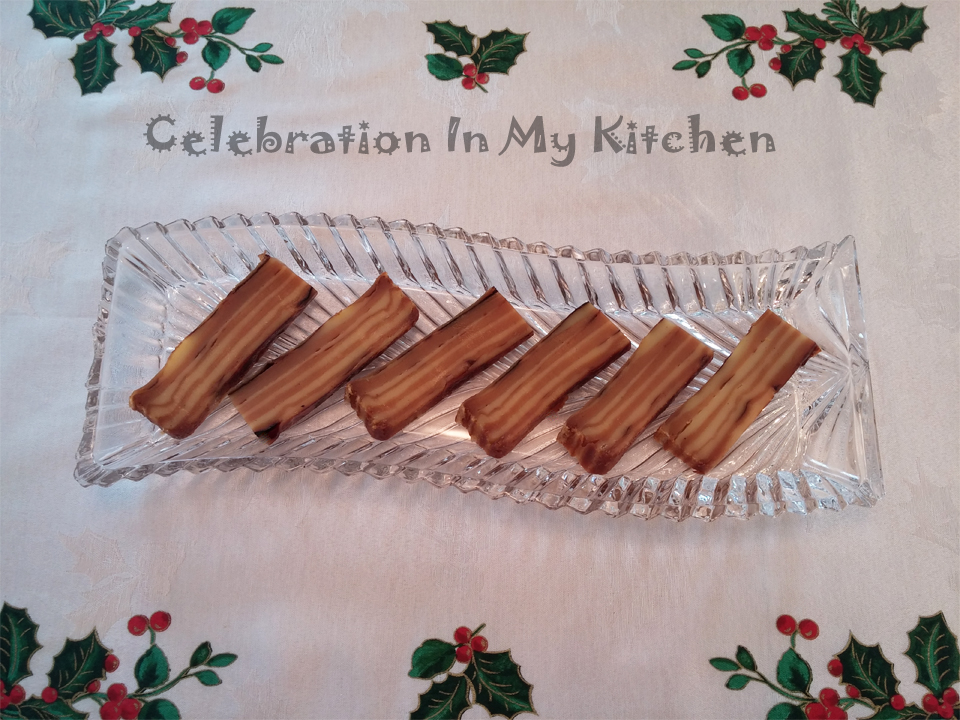
Though the preparation of bebinca is considered painstaking and time-consuming, it is relatively simple and easy once you get into the rhythm of building a couple of layers. It took me two hours (preparation plus baking) to create this amazing dessert. The batter consists of egg yolks, sugar, coconut milk, flour, nutmeg and salt, which is divided into two. One light with the other coloured with caramelized sugar. An 8-inch cake pan is used to build the various layers, with the first layer cooked directly on the stovetop and the rest broiled or grilled at 400 F or 200 C in the oven. The layers were alternated with the light and dark batter with ghee (clarified butter) acting as an adhesive in between. Care should be taken to apply the ghee over each layer with a silicone brush once it is cooked. This holds the layers together and helps in the creation of a masterpiece that is beautiful and heavenly.
Bebinca is served as a dessert for weddings and other special occasions in Goa. Sweet and high in calories, it should be consumed in moderation. It is readily available at various stores in Goa and Mumbai throughout the year.
(Yields 1 kg)
Ingredients:
600 ml coconut milk
300 grams sugar
9 egg yolks
150 grams all-purpose flour or maida
70 grams ghee (clarified butter, melted)
1/4 teaspoon nutmeg powder
1/4 cup sugar + 3 tablespoons water (for caramel)
1/8 teaspoon salt
Method:
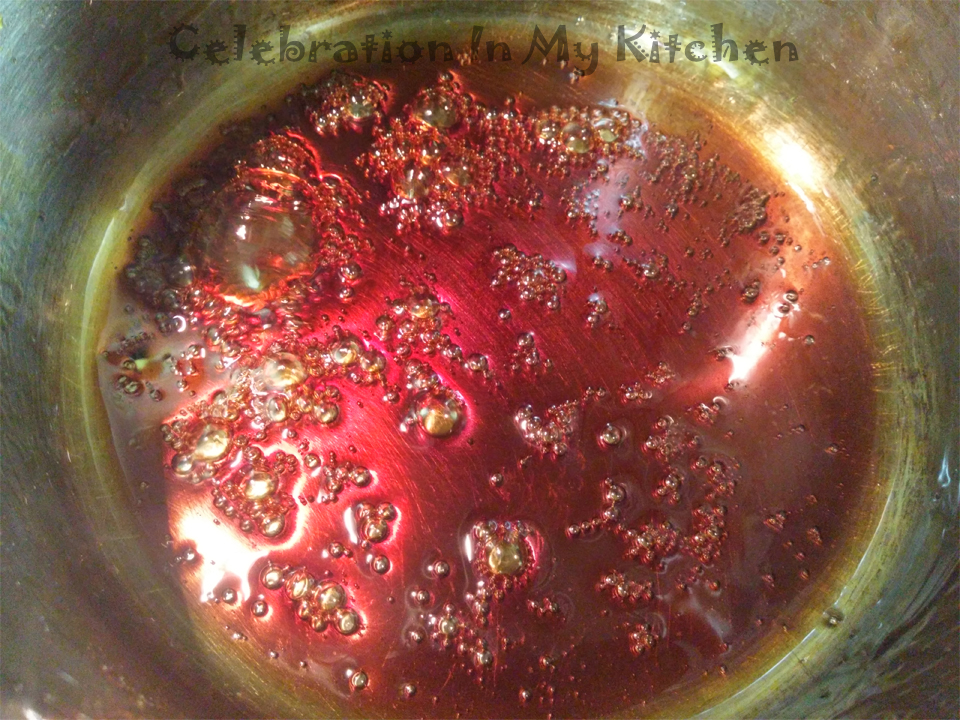
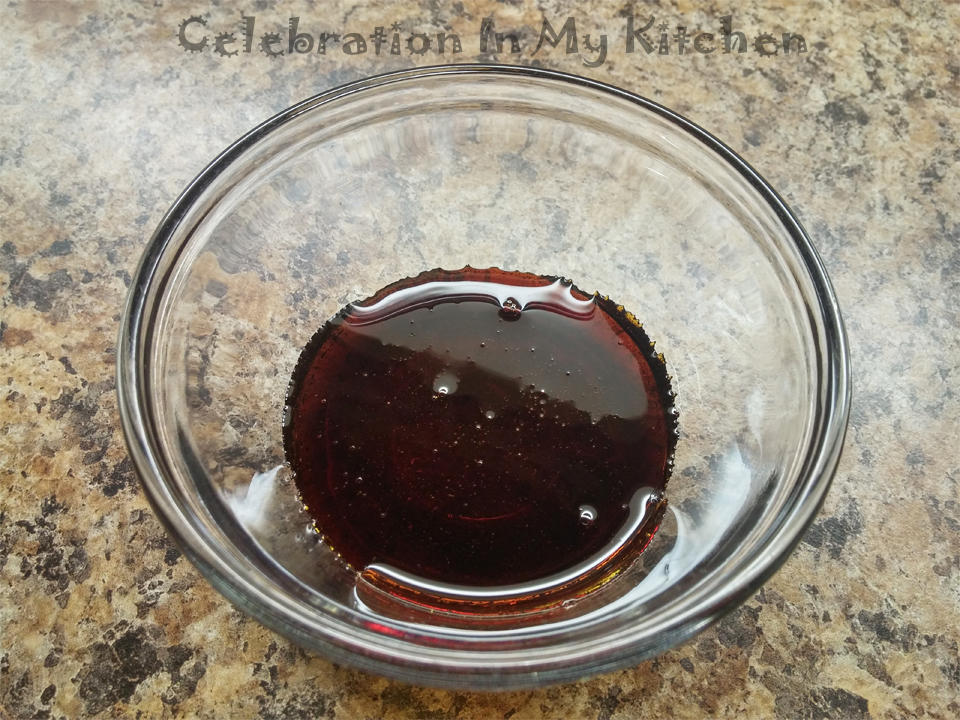
On medium flame, heat a saucepan with 1/4 cup sugar and let it caramelize. Do not stir but if you notice sugar that has not melted then gently move around with a spoon. When the sugar turns into an amber colour, add 3 tablespoons of water and stir to dissolve. Heat to slightly thicken and take off heat. As it cools, it will turn into a syrupy consistency. (Note: If it hardens on cooling, add very little water and run in the microwave for 30 seconds. Stir to mix and run again for another 30 seconds. Set aside to cool and thicken before adding to the batter.)
Sift the flour and set aside.
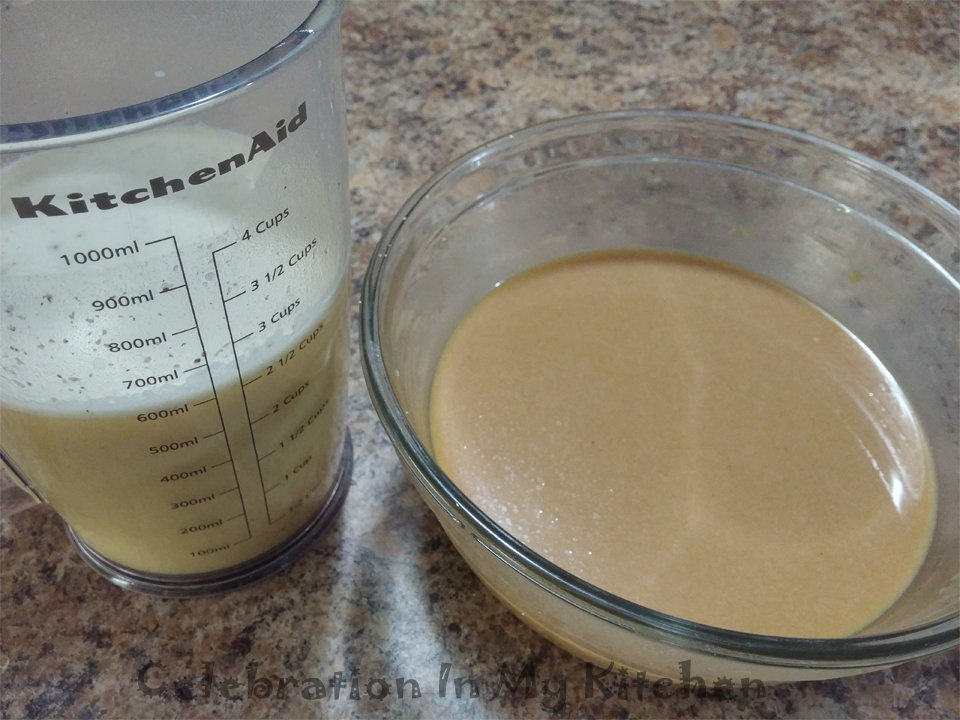
In a bowl, whisk the egg yolks with the sugar till creamy. Mix in thick coconut milk and salt. Add 2 tablespoons of flour at a time and alternate with the remaining thin coconut milk to form a batter free of lumps. Using a sieve, strain the mixture into a bowl and stir in the nutmeg powder.
The batter is around 5 cups so divide into two bowls, i.e. 2 1/2 cups batter in each bowl. To one, add the caramel to achieve a brown colour. (Note: I added all the caramel so ensure that you don’t burn or blacken the sugar.)
To build 10 layers, 1/2 cup of batter will be used for each layer, the light yellow alternating with the brown one.
Note: If you have a large oven with four positions, then place the oven rack in the second position from top.
Preheat the oven only the top grill (element) or broiler to 400 F or 200 C.
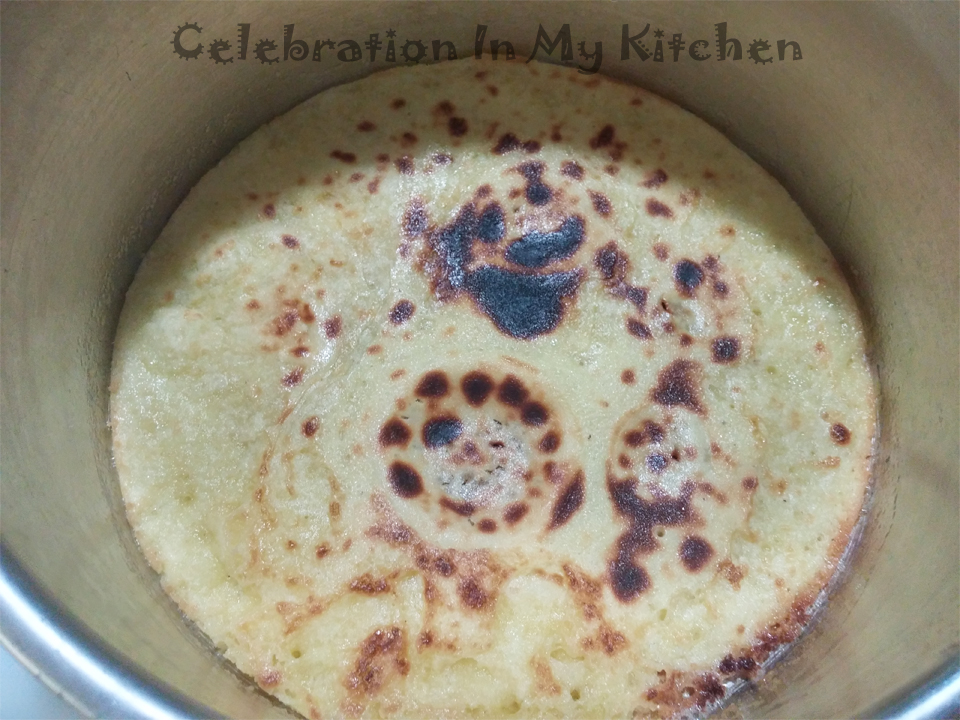
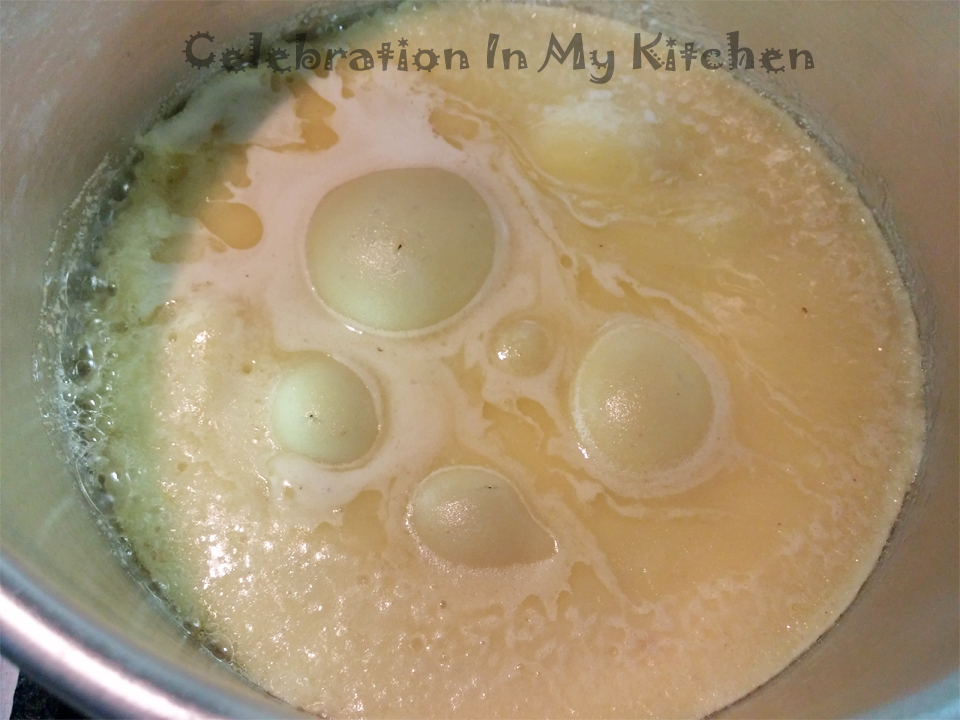
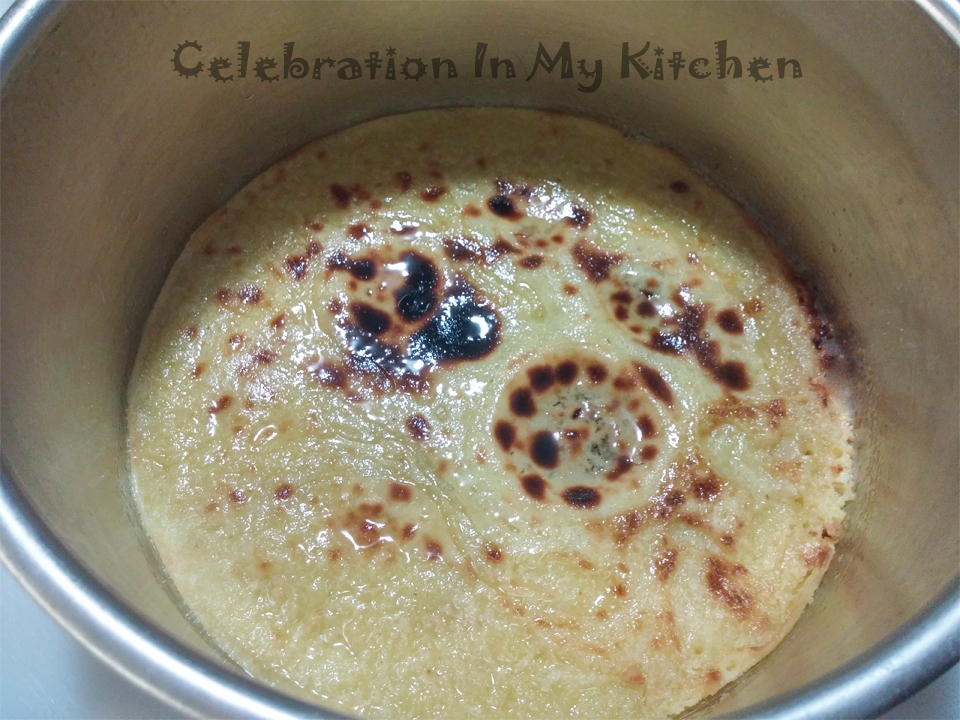
Take an 8” x 3.5” cake pan and heat directly on the stovetop on medium flame. Add 1 tablespoon of ghee and tilt pan so that it covers the entire bottom. Once slightly hot, stir the light batter and pour 1/2 cup into the pan. Tilt to spread and cover the entire bottom. Let this layer cook on the stovetop on medium heat till the sides and top are set (see picture above). Transfer the pan to the oven and grill till top is cooked with brown specks. Keep a watchful eye. The first layer took only 3 minutes to cook.
Remove the pan from the oven and gently press down layer with the back of a spoon or measuring cup. Then, using a silicone brush, apply ghee all over the first layer. (Note: Do not just spoon in some ghee but take the trouble and use a silicone brush. This process will adhere all the layers together.)
Now stir the brown batter add 1/2 cup on top of the first layer. Tilt and spread to cover all over. Place pan under the grill to cook. The second layer took 5 minutes.
Continue by first gently pressing down, then, brushing ghee over each layer, stirring the batter each time before pouring into the measuring cup and alternating light with the dark.
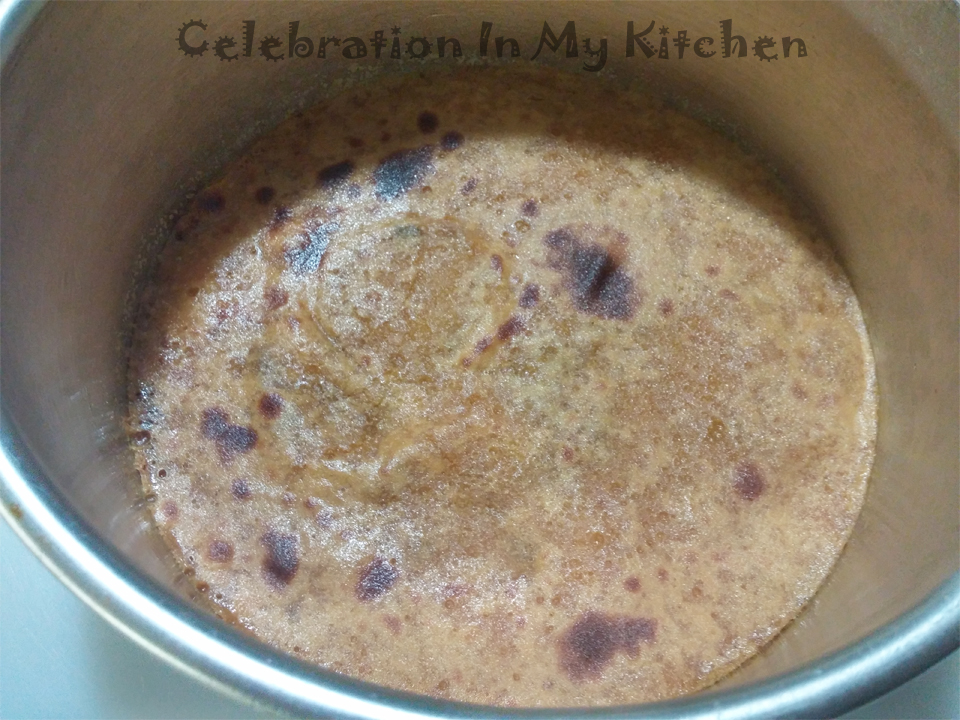
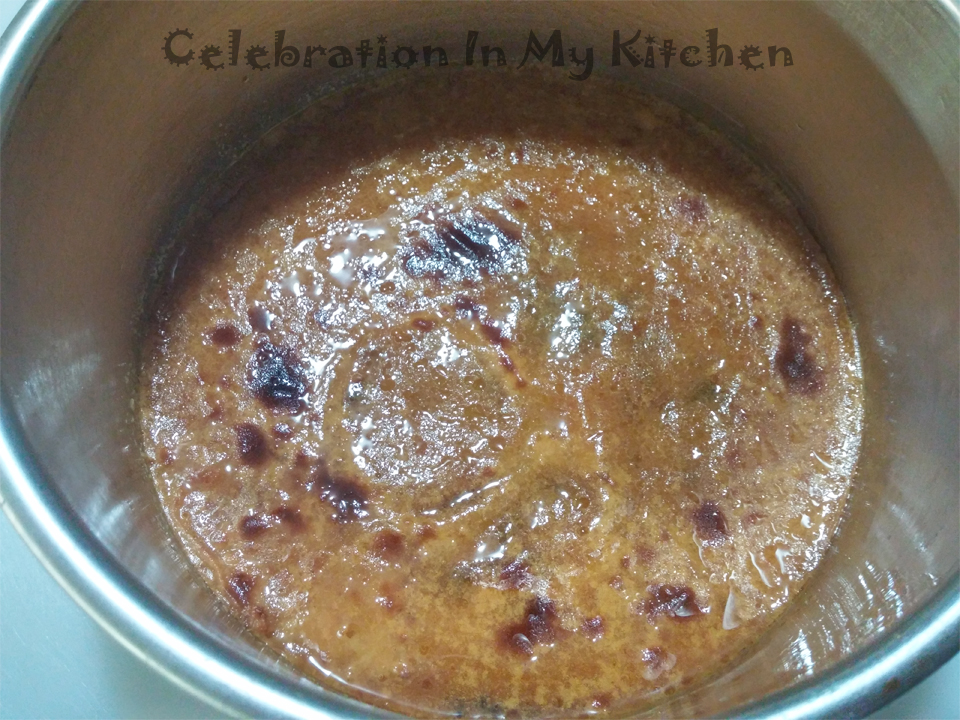
Though the first layer took only 3 minutes to cook, the following layers took 5 minutes with the time going up to 6 minutes towards the last few layers. So keep a watchful eye and ensure that each layer is properly cooked and brushed with ghee (see pictures above).
In between cooking, if you notice that the layers bubble up, just press it down or use a toothpick to release the air.
The entire bebinca took around 50 minutes in the oven. Only the top grill (broiler mode) was used.
Allow the bebinca to cool and set before unmoulding, at least for 12 hours. (Note: I prepared the bebinca from 8 p.m. to 10 p.m. and left it overnight to cool.)
To unmould, place pan on the stovetop on low heat for 30 seconds. This is to melt the solidified ghee at the bottom of the pan. Run a knife (blunt side) along the sides of the pan. This will avoid cutting through the bebinca and give a clean finish. Now gently move pan up and down, both clockwise and anti-clockwise to ensure that it is released. Invert onto a dish, cut into wedges or desired pieces and serve.
Note:
- From start to finish, it took two hours to prepare bebinca. Worth the effort and time.
- Use 1 whole coconut to grate avoiding the brown skin to extract the milk. Add 1 1/4 cups of warm water and run coconut in a blender. Strain and extract the thick juice. Run the coconut again in the blender with an additional 1 1/4 cups of warm water, strain and extract the thin juice. Keep thick and thin juices separately, together 600 ml.
- Grilling time will vary depending on the size, type and brand of the oven.
- Most recipes indicate 400 grams or 500 grams of sugar including 100 grams of ghee or more, which is way too much and unhealthy. The bebinca was perfectly sweet with 300 grams of sugar and ghee used was little less than 70 grams.
- Gently press down each layer all around once cooked with the back of a spoon or a measuring cup. This will ensure even layers.
- The bottom of the bebinca will not burn in the oven as the top element is only used throughout the cooking process. (Read No. 8)
- Cook layers as shown in the pictures above. Do not keep them raw.
- The second large picture is the first layer that was cooked directly on the stovetop. As you see, being at the bottom all the time, it does not burn in the oven.

