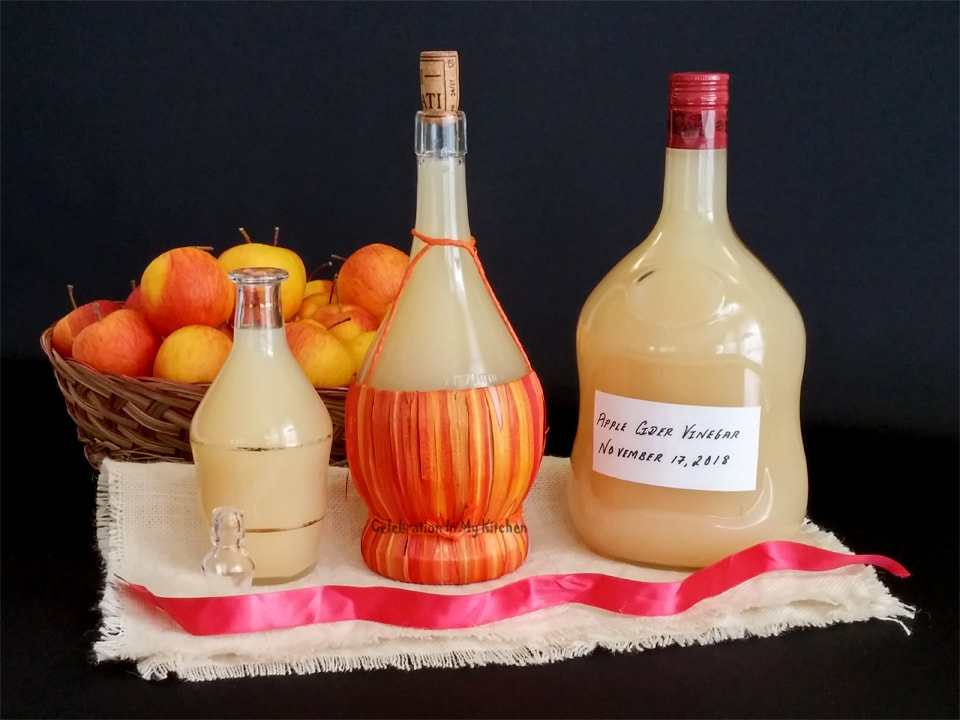
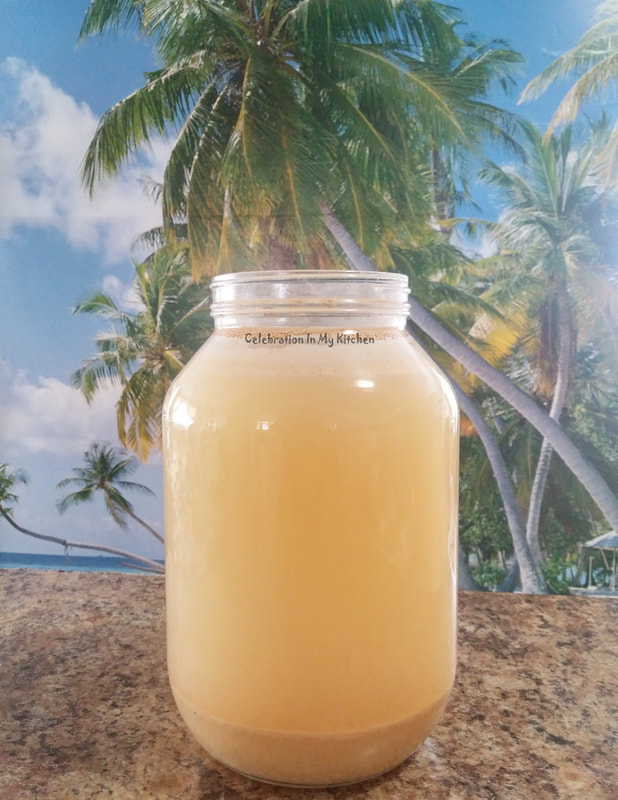
It is super easy and very cheap to make apple cider vinegar at home. Pure, unpasteurized with no artificial flavourings, it has a fruity taste and pale golden in colour. A condiment in the kitchen, it can be used to enhance foods, cleaning, disinfecting and for other common needs around the house. Nutritious with zero calories, no sodium or preservatives and known to have numerous health benefits.
Apple cider vinegar is made with only three ingredients; apples, filtered water and sugar. Organic apples are ideal and if desired, choose a blend of different varieties for a depth of flavour. Either whole apples or just scraps (peel and core) can be used. The process is very simple and fermentation starts within two days. It takes around two months for the vinegar to reach the preferred acidic level. At this stage, you can refrigerate the vinegar to stop further fermentation. Alternatively, leave in the pantry and will get stronger over time that can be diluted with some water before use. Homemade vinegar is absolutely delicious and I love it.
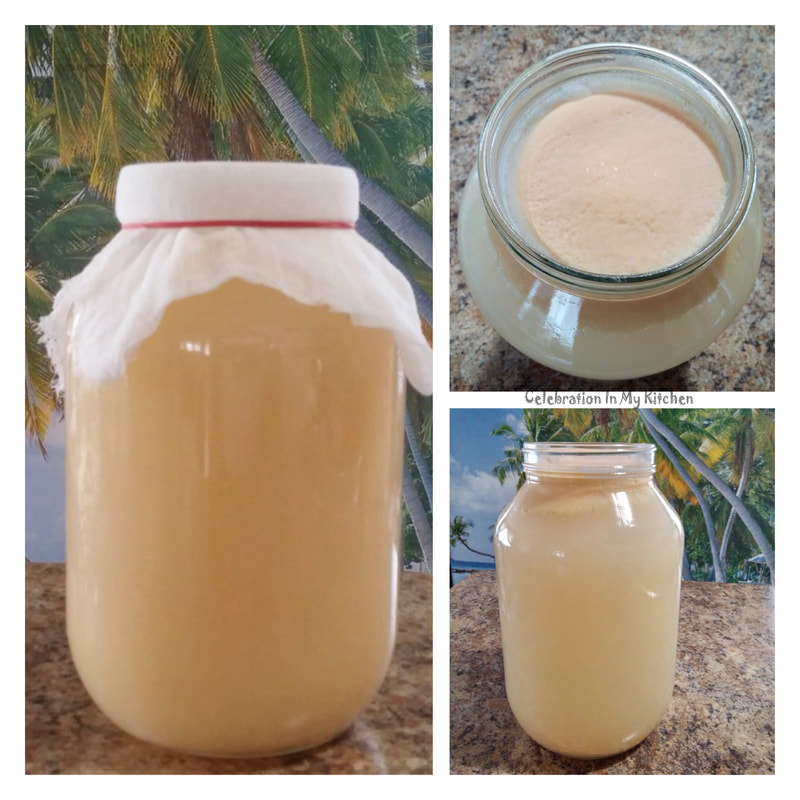
As fermentation takes place, a film develops on top known as the mother of vinegar (MOV). Basically cellulose, which is made up of essential bacteria converting ethanol from alcoholic liquid into acetic acid with the help of oxygen from the air. MOV gives the vinegar a cloudy or murky appearance that forms on top and also, settles at the bottom of the jar. It can be stored at room temperature covered with vinegar and used in future, to jumpstart fermentation in a new batch of apple cider. For any doubts or queries, refer to:
https://supremevinegar.com/2017/09/12/long-term-storage-mother-vinegar/
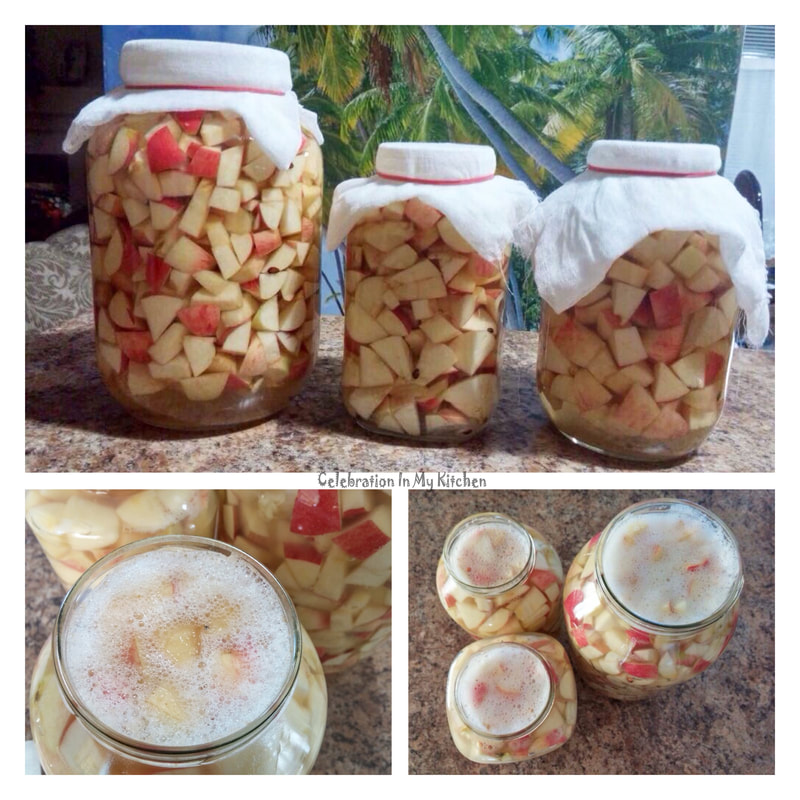
Bubbles rising to the top - 3rd day
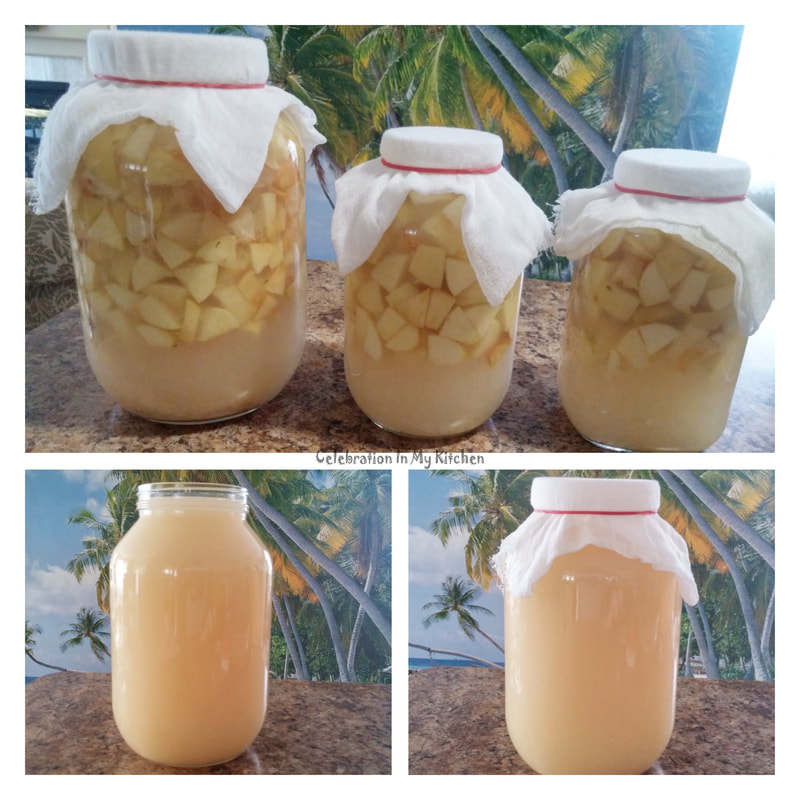
Apple skin turned white - picture clicked on the 15th day. Apples strained and cider from all 3 jars transferred in the largest jar, set aside to ferment - 20th day
Apples strained and cider set aside to ferment on the 20th day. To the right, Mother of the Vinegar developed on the top - picture clicked on the 28th day.
Apple Cider Vinegar ready to be strained and bottled - 68th day
Homemade Apple Cider Vinegar
(Yields 4 litres)
Ingredients:
40 organic apples
40 teaspoons of organic sugar or white granulated sugar
4 litres of filtered water or enough to cover the apples
Method:
Wash apples and roughly chop into small cubes. Transfer into sterilized glass jars filling them three-fourth along with the core and seeds. I discarded the stalks.
Note:
Cover the jar with a cheesecloth secured with an elastic band to keep fruit flies away, allowing the mixture to breathe and gases to escape during fermentation. Set the jar on the countertop or in the pantry.
Every other day, use a sterilized wooden or silicone spoon and stir the apples. Do not use a metal one.
Fermentation starts on the second or third day with bubbles rising to the top. Hence, avoid filling the jar at the start until the top since at this stage, the mixture will begin to overflow.
During fermentation, I noticed that the skin of the apples started to lose its colour and turned white. In two to three weeks, the apples will sink to the bottom. Even if they don't settle down like in my case, they are ready to be strained and discarded.
Note:
Use a clean, dry sterilized glass bowl and strain the apples through a cheesecloth. Do not use any metal (sieve or spoon) at any stage.
Transfer the apple cider back into the original jar, cover with cheesecloth secured with an elastic band. Set aside in a cool, dark place away from sunlight to ferment for 3 to 4 weeks. During this time, you will notice the mother of vinegar forming on the top with sediments settling at the bottom of the jar. Once in a while, in the first two weeks, stir with a sterilized wooden or silicone spoon to distribute the bacteria. Then, leave it undisturbed but check occasionally. When you start to smell the strong aroma of vinegar, taste to test the desired acidic level.
When vinegar is ready, sterilize a bowl, glass measuring cup, plastic funnel and bottles.
Strain through a cheese cloth into the sterilized bowl and using the glass measuring cup, pour vinegar through the funnel into the glass bottles. Secure with a cap and refrigerate to stop further fermentation. Alternatively, leave in the pantry and the vinegar will keep aging. In case of the latter, dilute with some water before use.
Note:
(Yields 4 litres)
Ingredients:
40 organic apples
40 teaspoons of organic sugar or white granulated sugar
4 litres of filtered water or enough to cover the apples
Method:
Wash apples and roughly chop into small cubes. Transfer into sterilized glass jars filling them three-fourth along with the core and seeds. I discarded the stalks.
Note:
- Gala apples (5 kgs) from our garden tree were used.
Cover the jar with a cheesecloth secured with an elastic band to keep fruit flies away, allowing the mixture to breathe and gases to escape during fermentation. Set the jar on the countertop or in the pantry.
Every other day, use a sterilized wooden or silicone spoon and stir the apples. Do not use a metal one.
Fermentation starts on the second or third day with bubbles rising to the top. Hence, avoid filling the jar at the start until the top since at this stage, the mixture will begin to overflow.
During fermentation, I noticed that the skin of the apples started to lose its colour and turned white. In two to three weeks, the apples will sink to the bottom. Even if they don't settle down like in my case, they are ready to be strained and discarded.
Note:
- Apples were strained and discarded on the 20th day. Cider from all 3 jars transferred in the largest jar, set aside to ferment.
Use a clean, dry sterilized glass bowl and strain the apples through a cheesecloth. Do not use any metal (sieve or spoon) at any stage.
Transfer the apple cider back into the original jar, cover with cheesecloth secured with an elastic band. Set aside in a cool, dark place away from sunlight to ferment for 3 to 4 weeks. During this time, you will notice the mother of vinegar forming on the top with sediments settling at the bottom of the jar. Once in a while, in the first two weeks, stir with a sterilized wooden or silicone spoon to distribute the bacteria. Then, leave it undisturbed but check occasionally. When you start to smell the strong aroma of vinegar, taste to test the desired acidic level.
When vinegar is ready, sterilize a bowl, glass measuring cup, plastic funnel and bottles.
Strain through a cheese cloth into the sterilized bowl and using the glass measuring cup, pour vinegar through the funnel into the glass bottles. Secure with a cap and refrigerate to stop further fermentation. Alternatively, leave in the pantry and the vinegar will keep aging. In case of the latter, dilute with some water before use.
Note:
- Vinegar was ready in 68 days from the start date (i.e. when apples were cut into cubes).
- Homemade apple cider vinegar is so delicious, pure and healthy. It has numerous health benefits, google to read.
- Regular white granulated sugar was used, which can be replaced with light brown sugar or honey. In case of honey, fermentation will be slow and entire process will take a longer time. If you have the “mother of vinegar” indicated in write-up above, sugar or honey can be omitted with a small amount of the mother used to jumpstart fermentation.
- Bottled water was used.
- If you notice any mold growth at any stage, discard and restart. As long as every step is followed as indicated above, there will be no problem.
- Apple cider vinegar can be made with any amount of apples e.g. 3 or more. Just add equal teaspoons of sugar to the quantity of apples used and enough water to cover the apples.
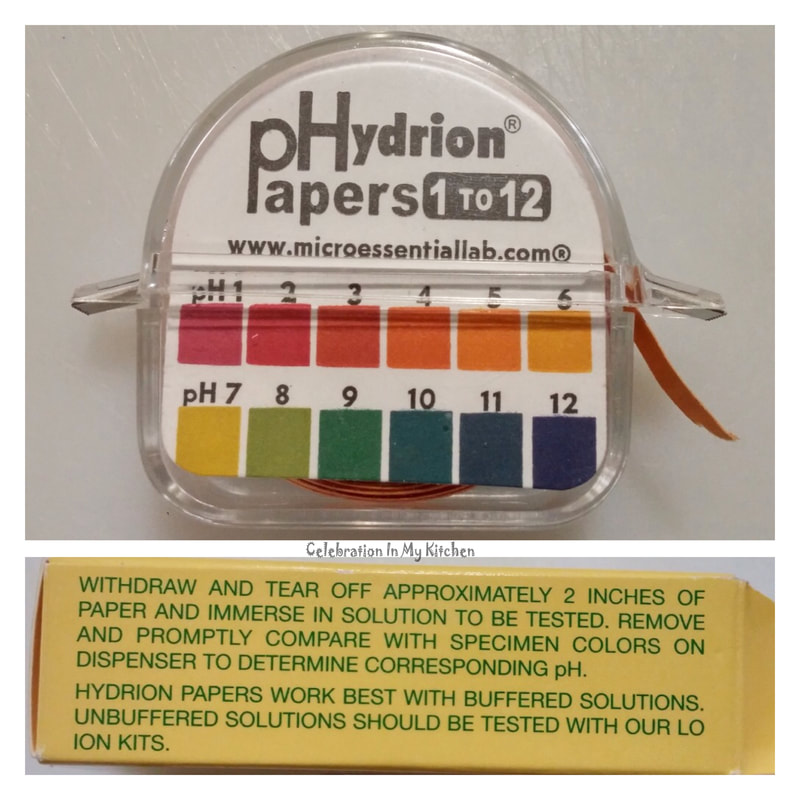
- To measure pH (potential of hydrogen), use pH paper (picture below) to test the acidity of the vinegar. This method is optional, hydrion paper available on Amazon.
- Apple cider vinegar typically has a pH of 3.3 to 3.5 with 5% acetic acid. I was happy to achieve the above pH, tested with the hydrion paper.

